Chain
Introduction
The Chain Creation feature enables users to design and customize tool chains tailored to their specific needs. This functionality is valuable for managing a series of interconnected tools and processes, enhancing efficiency and organization within a project. By following this tutorial, users can easily create new tool chains, configure their details, and control access settings, ensuring that their workflows are both effective and secure.
Getting Started
To begin using the Chain Creation feature, navigate to the URL: https://sai-library.saiapplications.com/designer. Ensure you have access to this page and are logged into the system. This interface is your starting point for creating new tools and managing existing ones.
Procedure
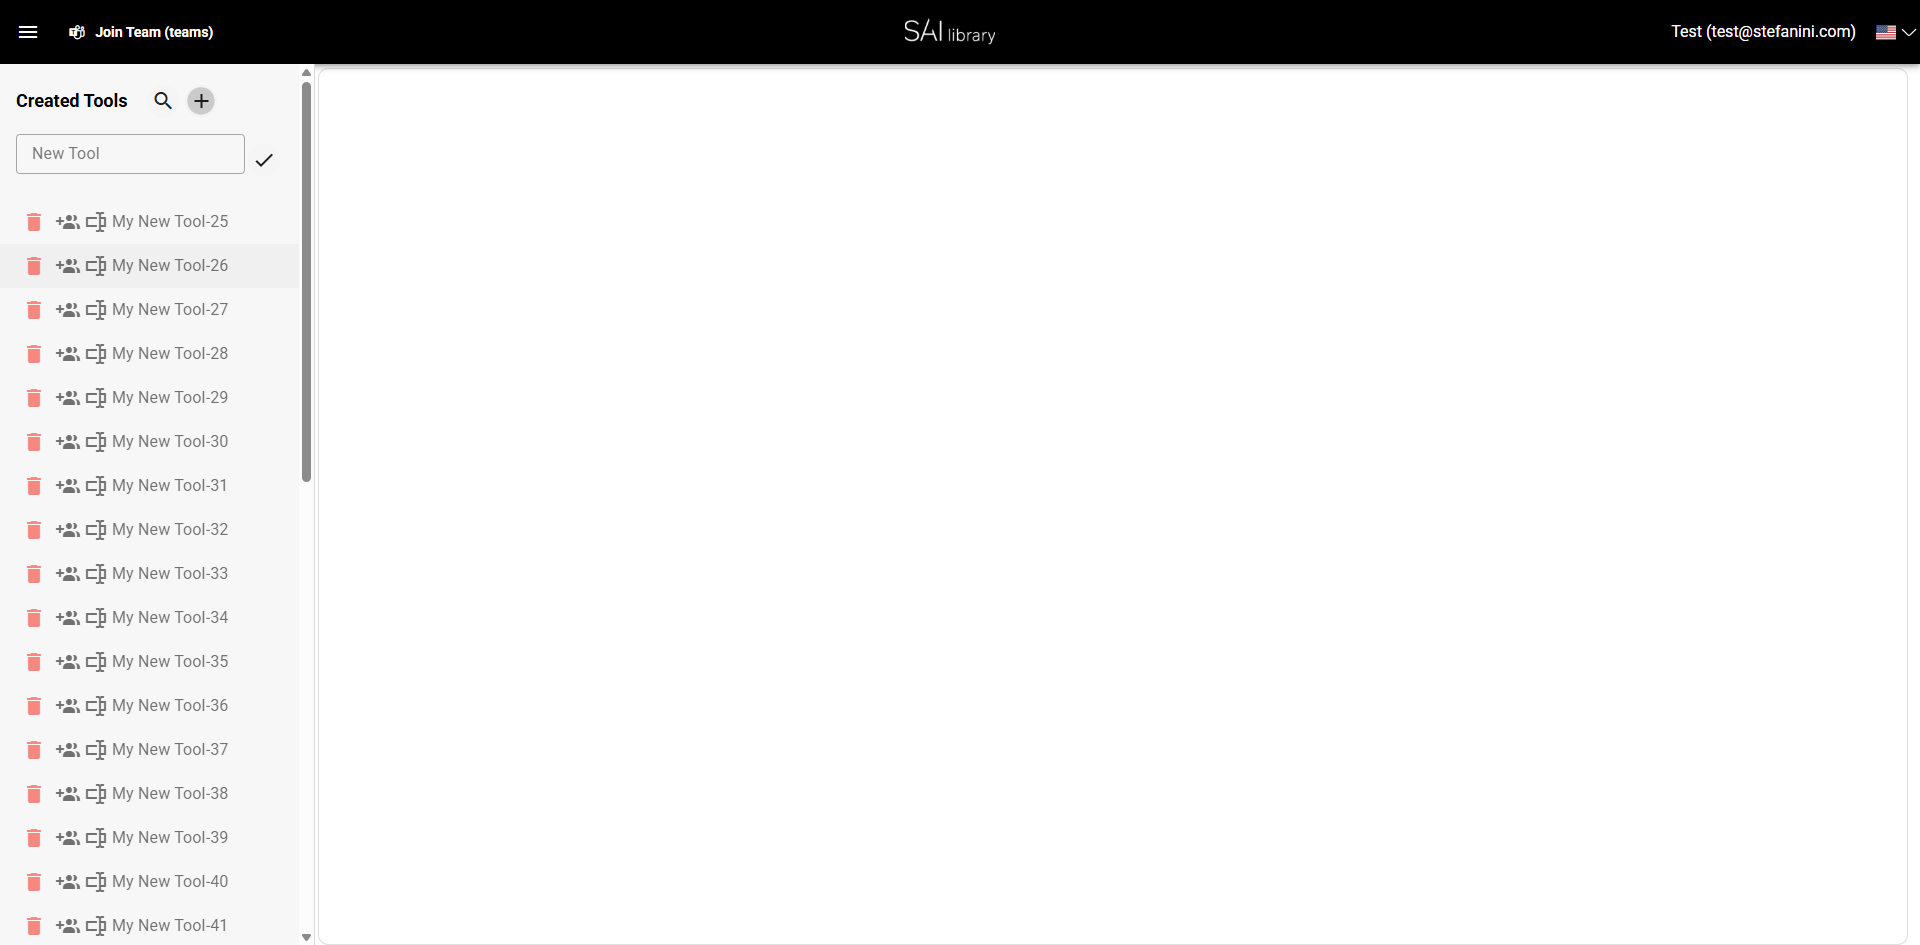
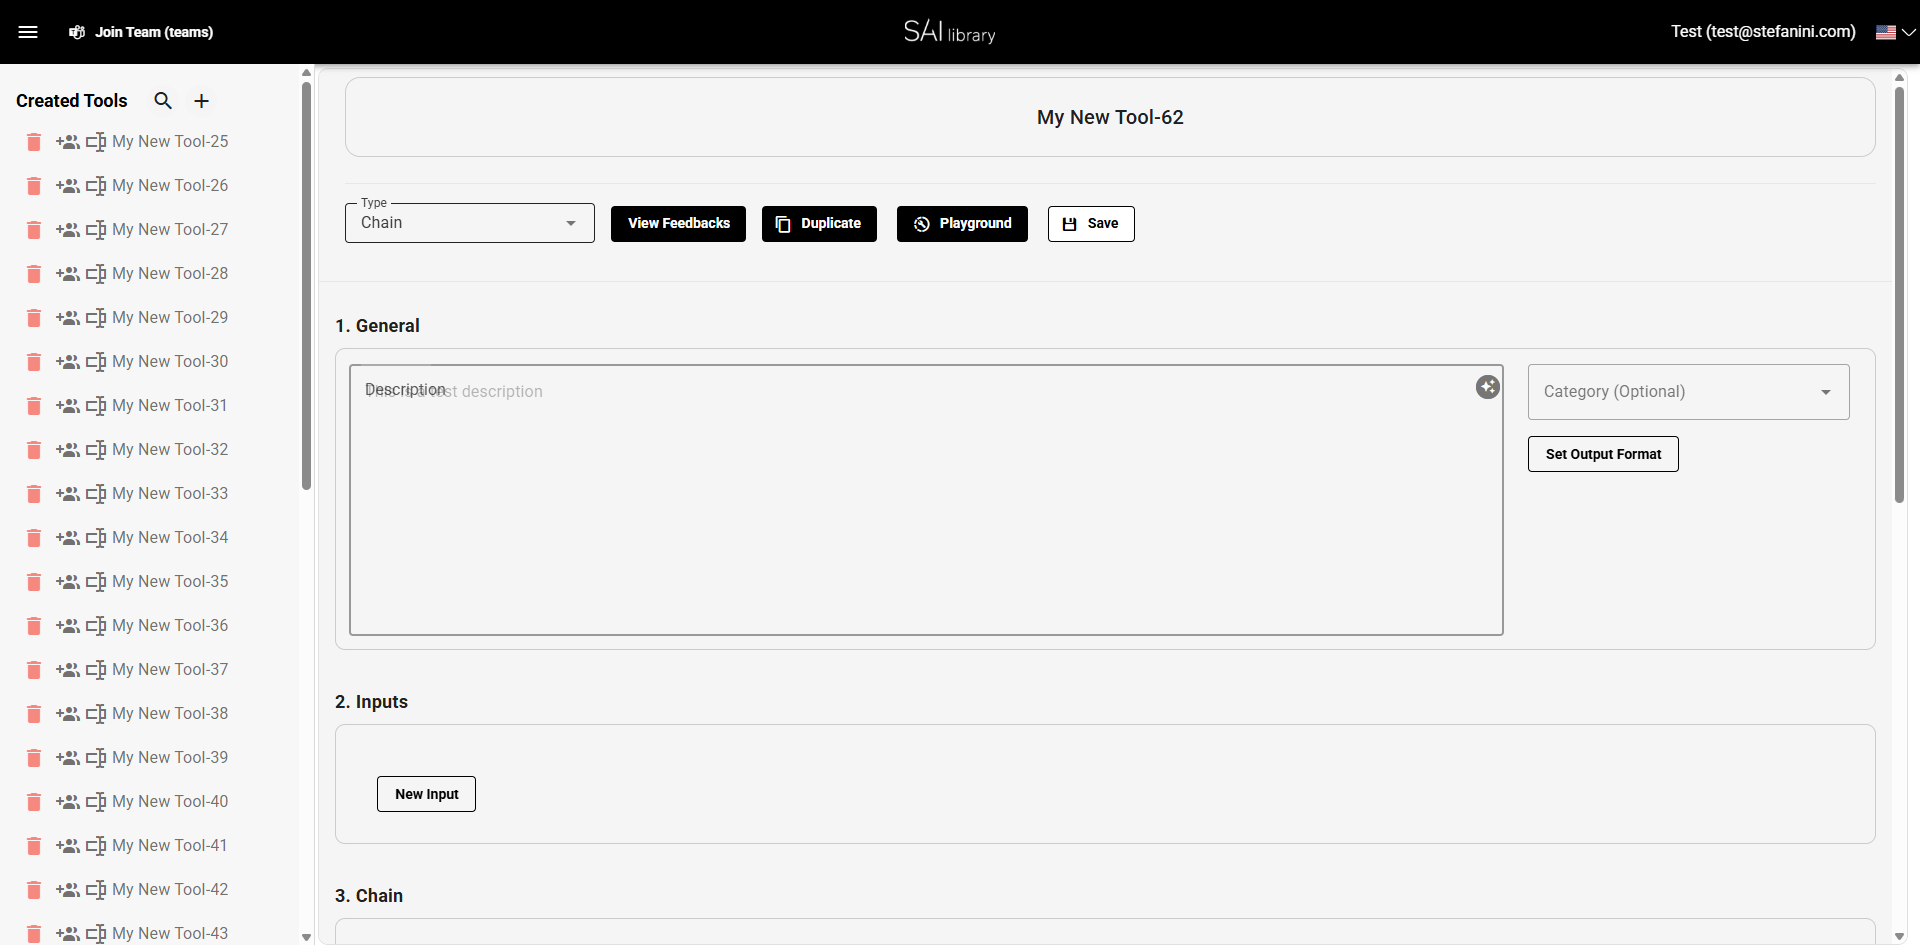
Step 1: Access the New Tool Option
- Locate and click the add-new-tool button next to "Created Tools."
- Purpose: This action initiates the creation of a new tool within your project.
- Expected Result: A new tool entry appears in the list, ready to be named.
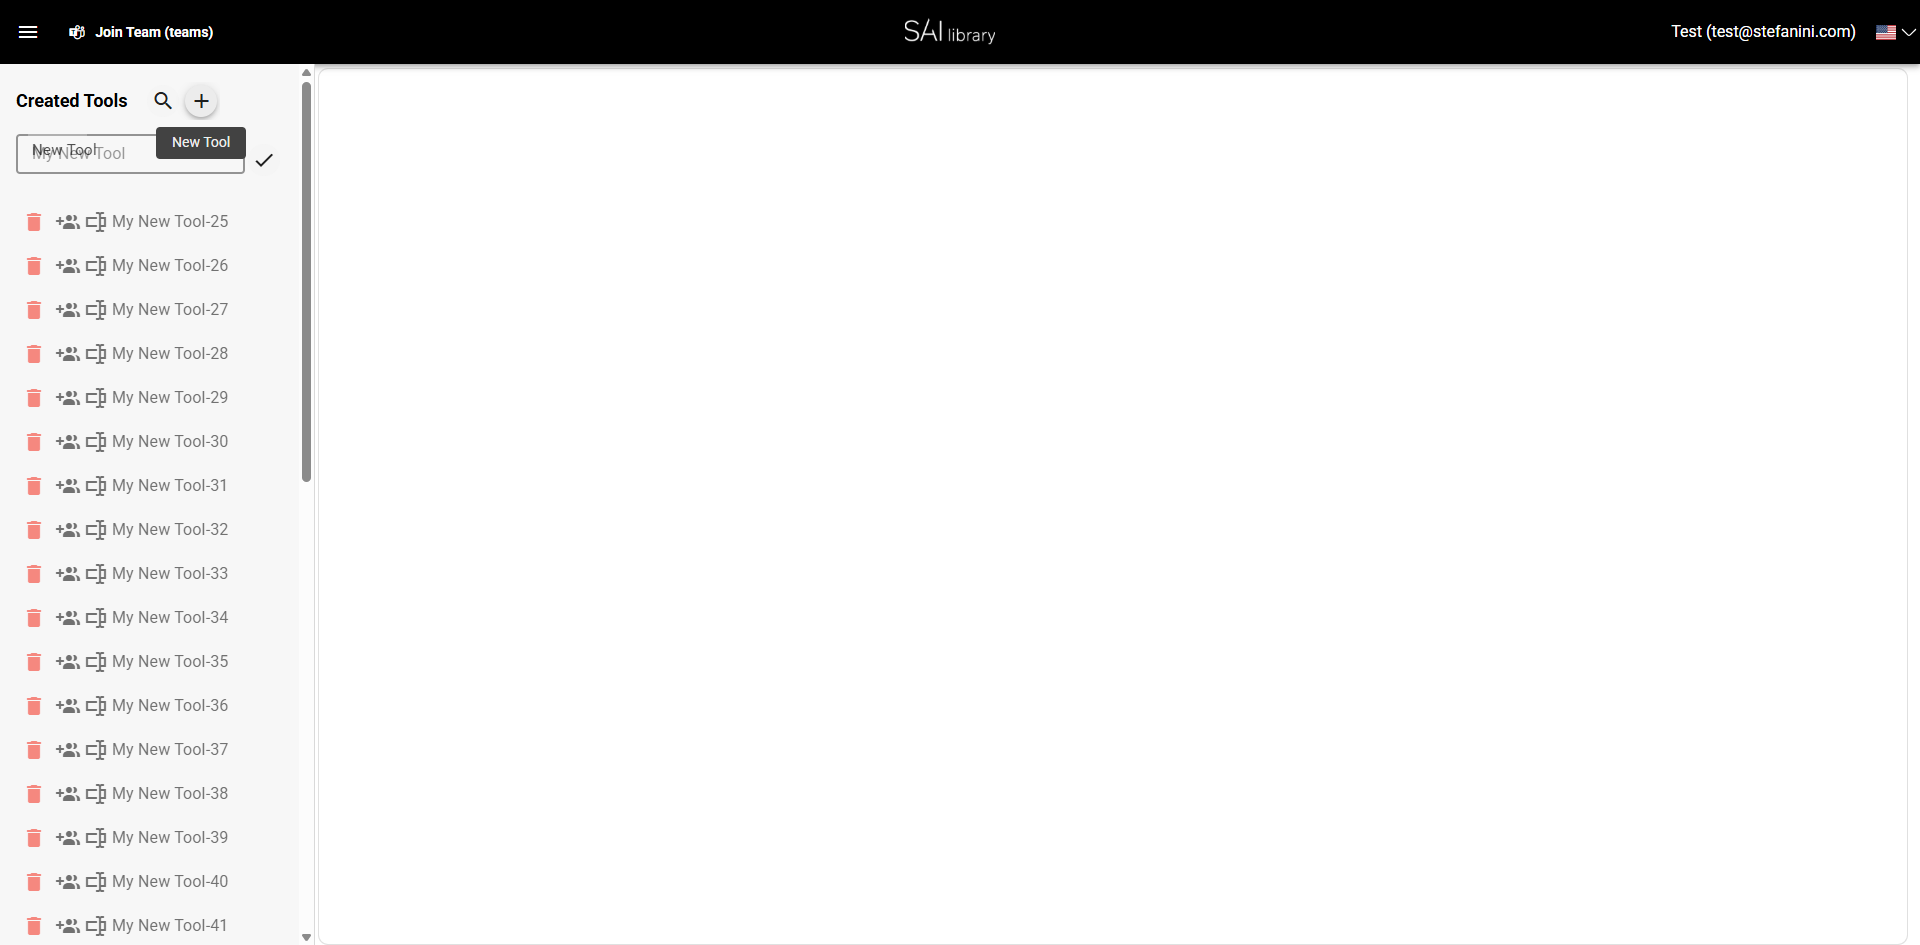
Step 2: Enter Tool Name
- Type "My New Tool" into the visible text input field.
- Purpose: Naming your tool is crucial for identification and management.
- Expected Result: The tool is now labeled "My New Tool" in the list.
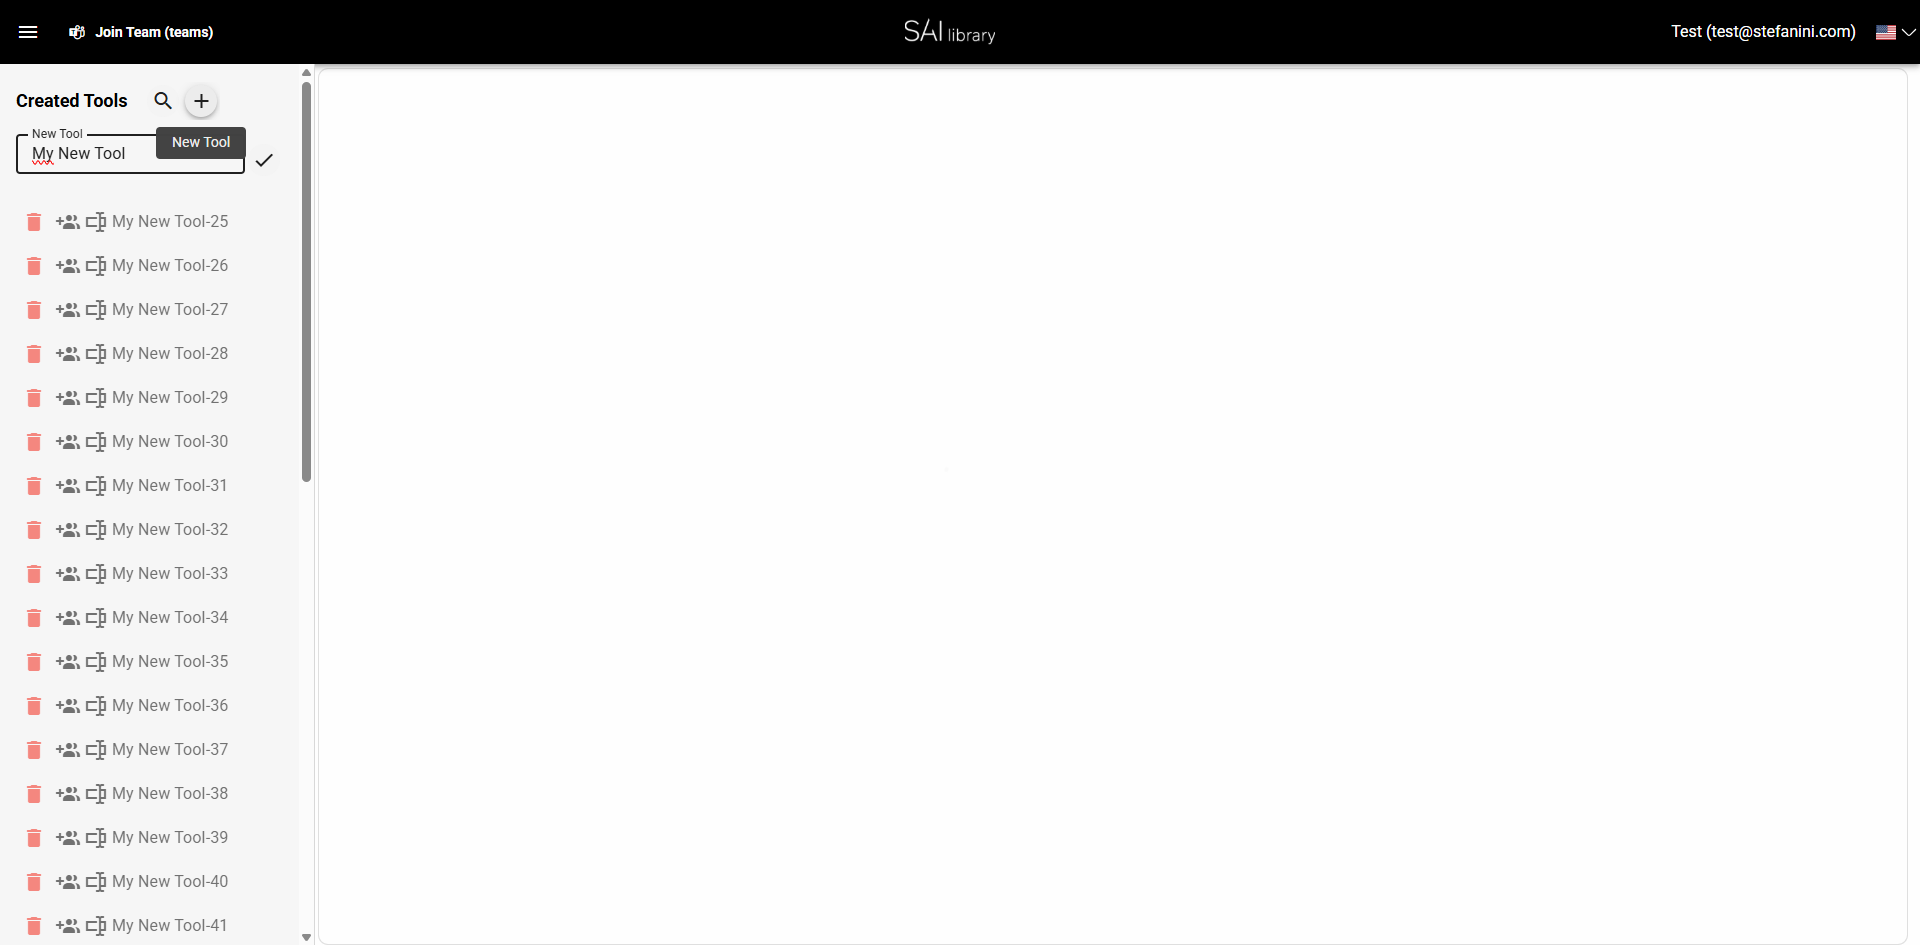
Step 3: Confirm Tool Name
- Click the confirm button next to the name field.
- Purpose: Confirms the name of your tool to proceed with further configurations.
- Expected Result: The tool's name is saved and confirmed.
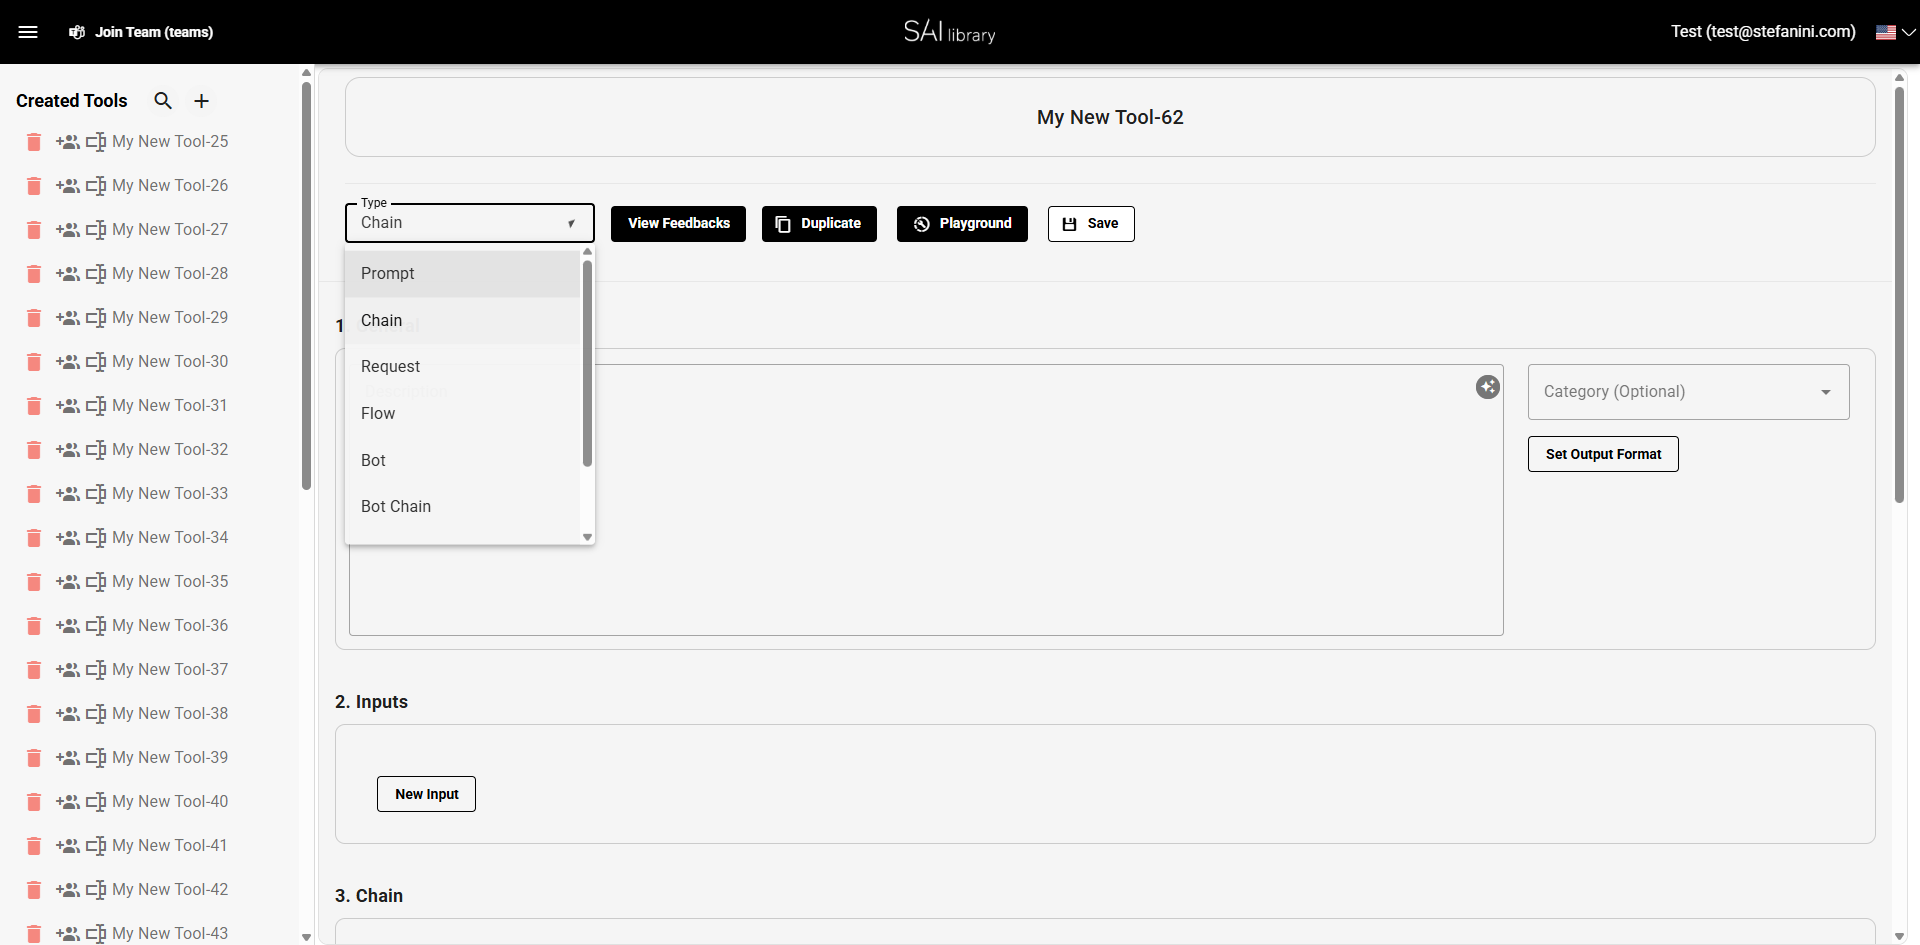
Step 4: Select Tool Type
- Click on the element with class
template-type-selectand choose the option "Chain". - Purpose: Defines the type of tool you are creating, which in this case is a chain.
- Expected Result: The tool type is set to "Chain".
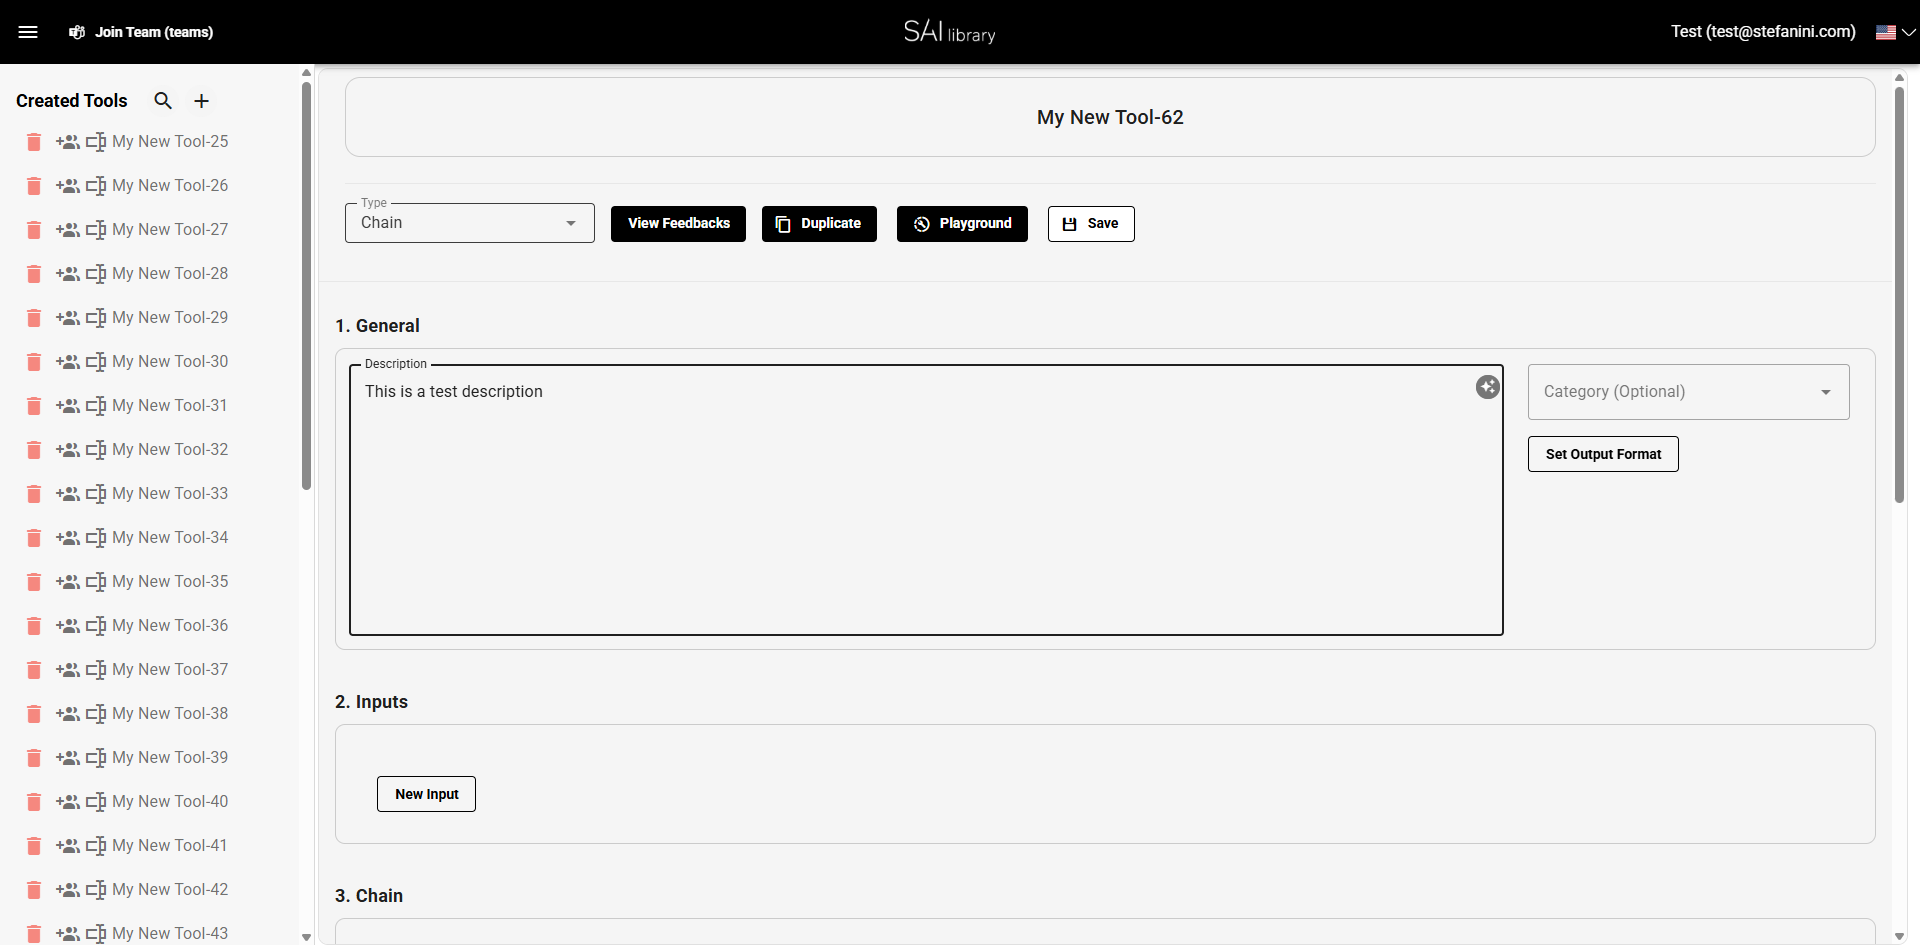
Step 5: Add a Description
- Type "This is a test description" in the Description field.
- Purpose: Provides additional information about the tool's purpose and functionalities.
- Expected Result: The description is displayed under the General section.
Step 6: Review General Section
- Review all fields in the General section:
- Description: Briefly explains the tool's use.
- Category (Optional): Allows for categorization of tools.
- Purpose: Ensures the information accurately describes the tool.
- Expected Result: The General section is fully populated with relevant data.
Step 7: Define Inputs Section
- Click "New Input" to add inputs to your tool.
- Purpose: Inputs are essential for customizing how your tool interacts with data.
- Expected Result: New inputs are added and visible under the Inputs section.
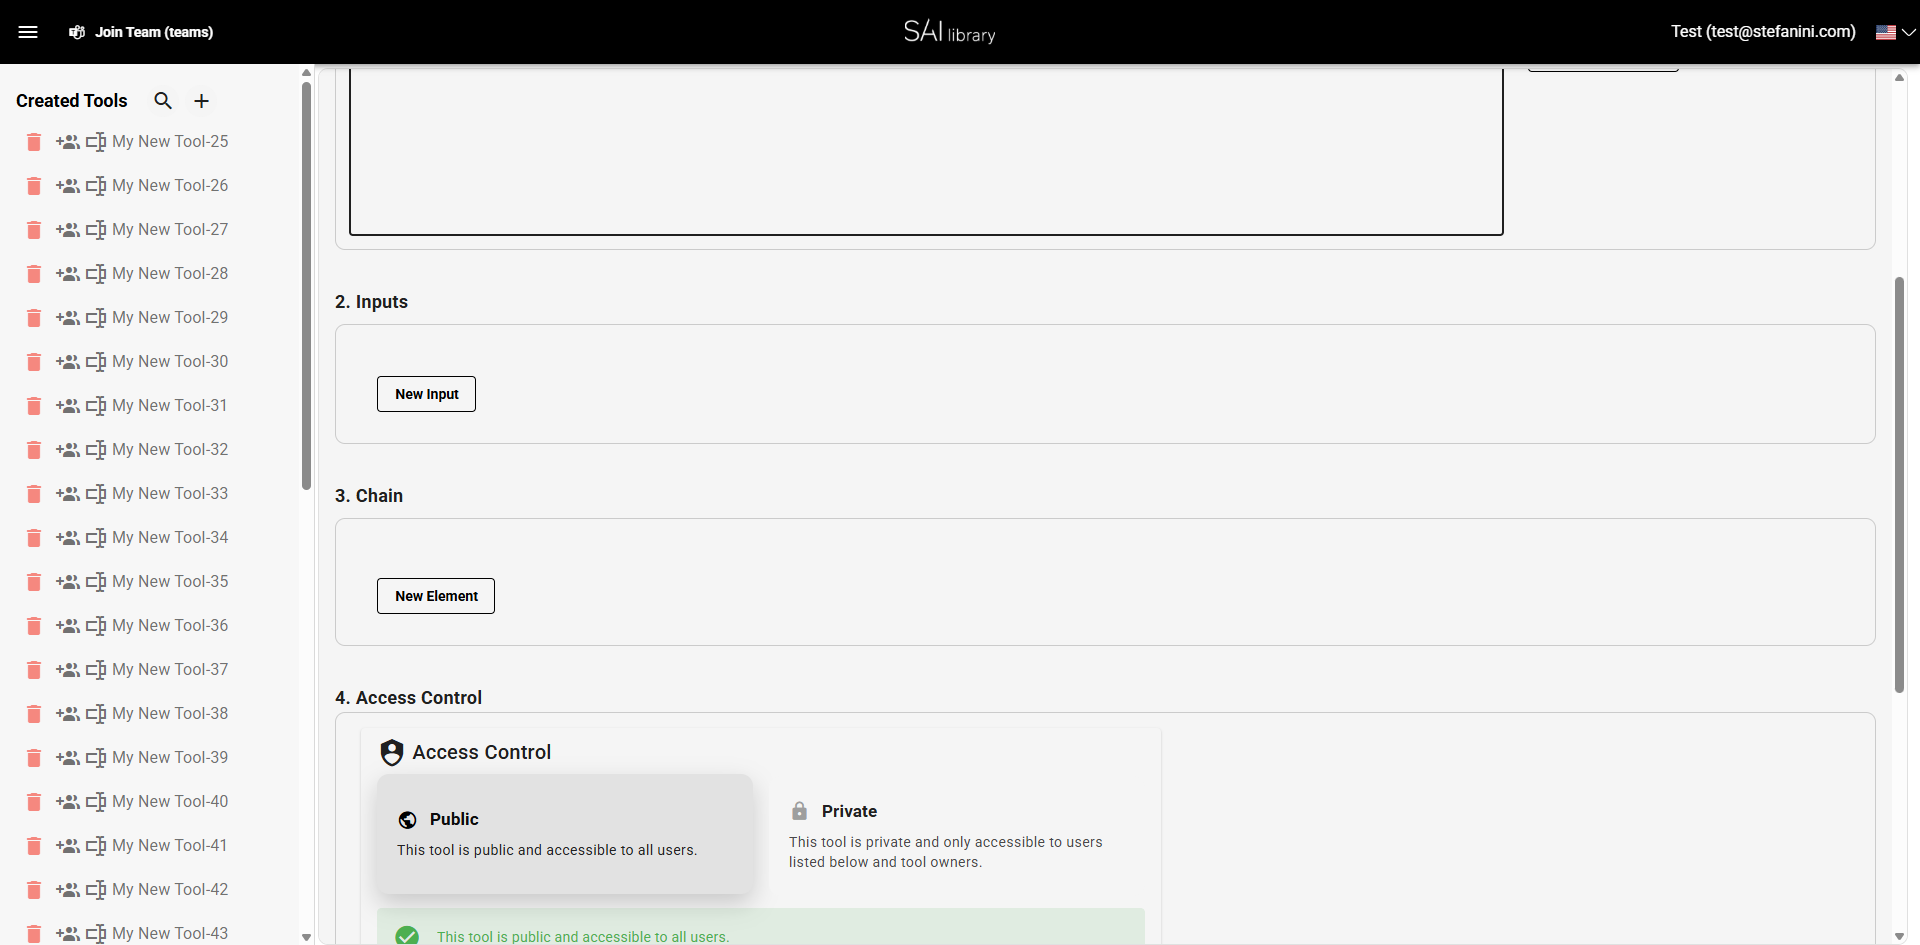
Step 8: Set Up Chain Section
- Click "New Element" to add elements to your chain.
- Purpose: Configures the components within your tool chain, defining its behavior.
- Expected Result: Elements are added under the Chain section, ready for configuration.
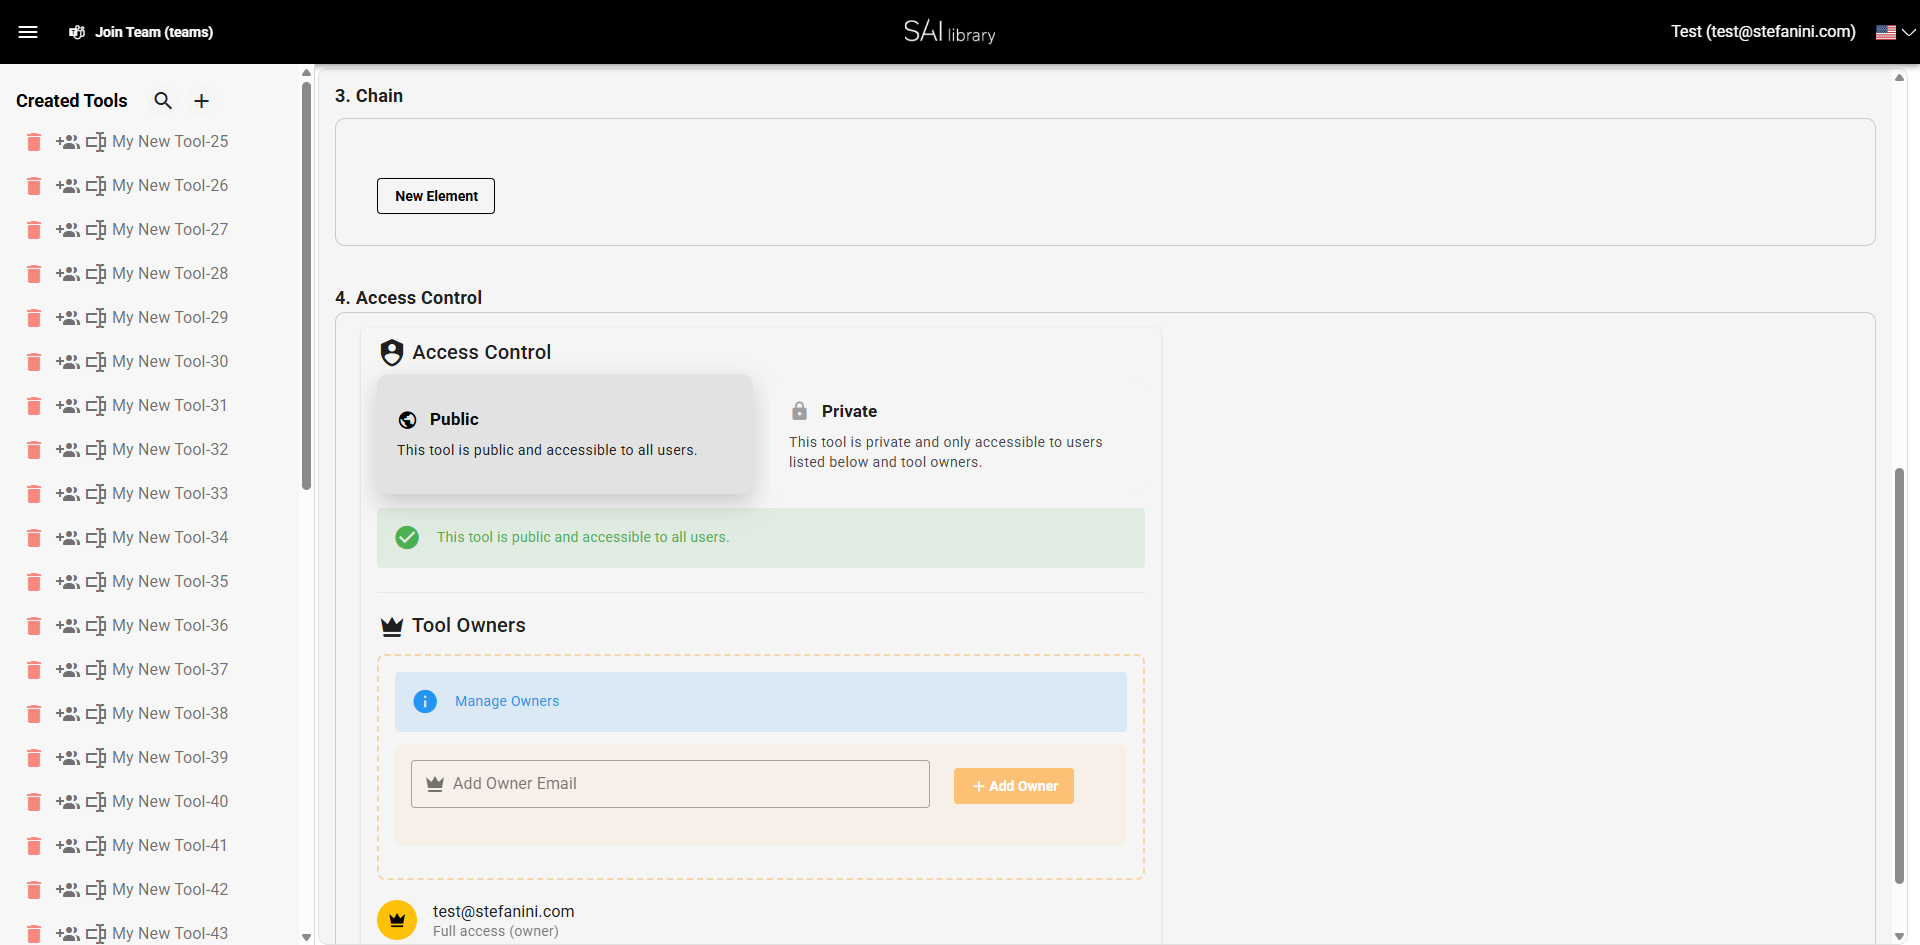
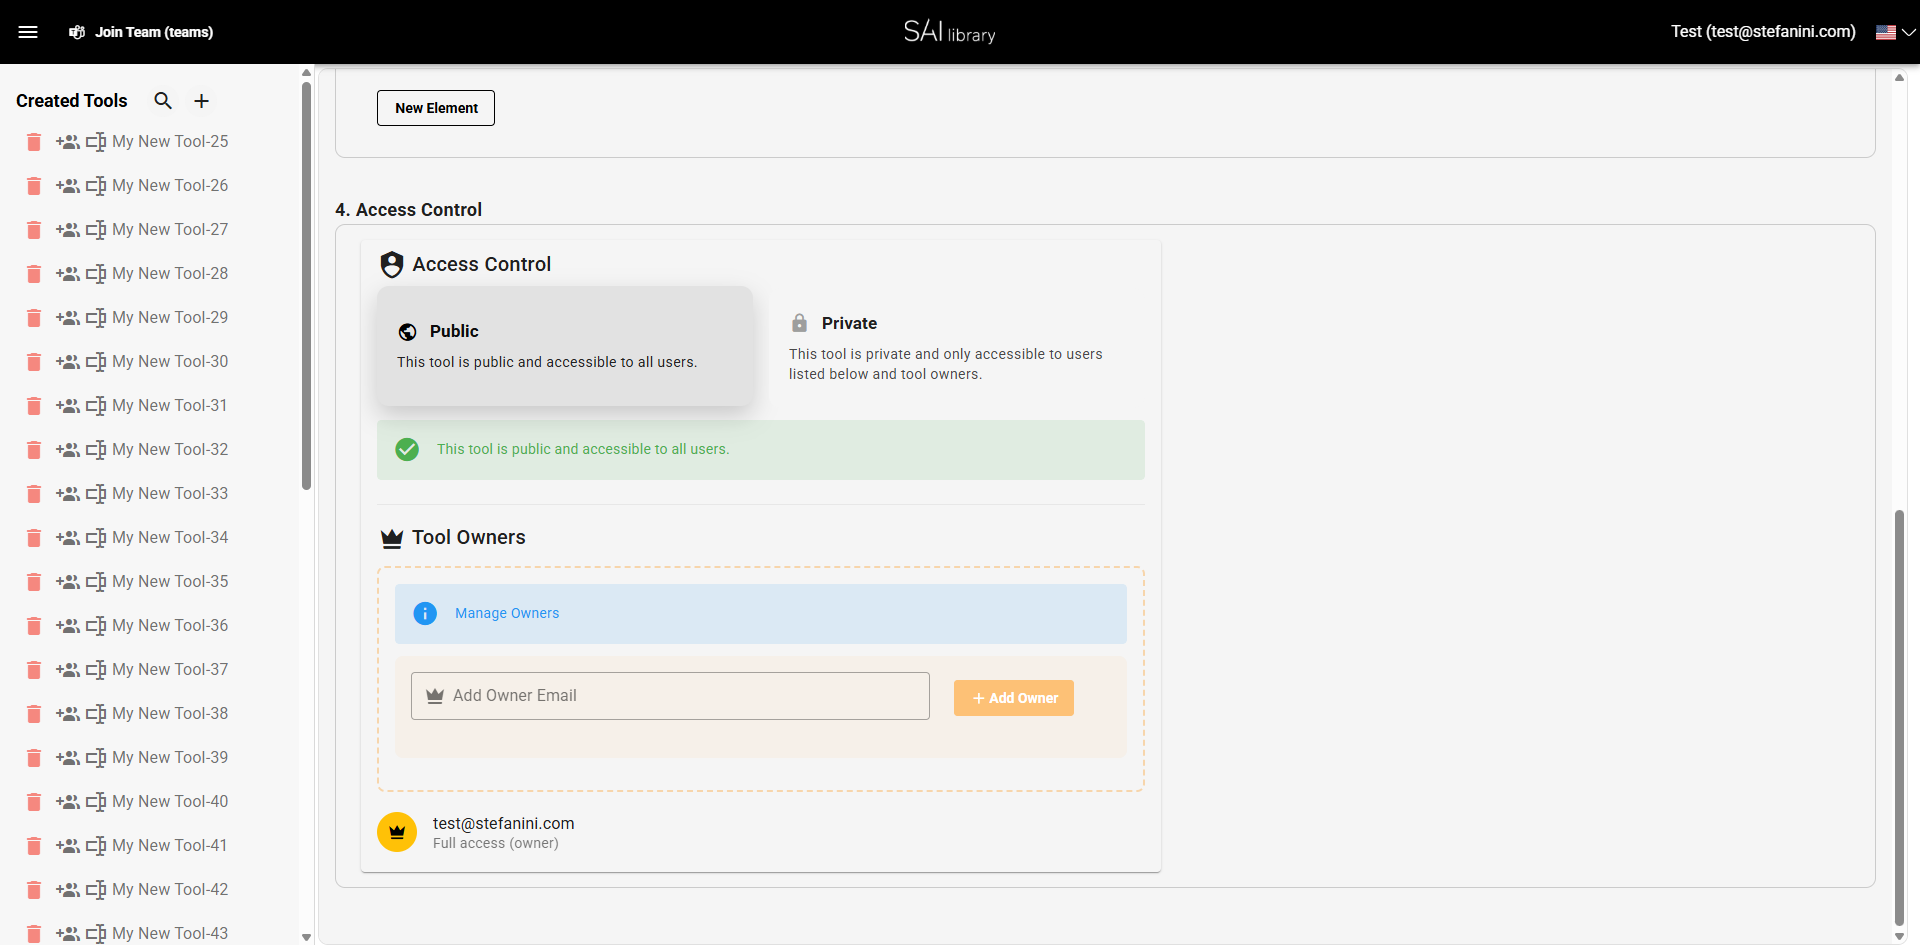
Step 9: Configure Access Control
- Select either "Public" or "Private" for access control:
- Public: Accessible by all users.
- Private: Restricted access to specified users.
- Purpose: Controls who can view or modify your tool.
- Expected Result: Access settings are applied according to your choice.
Result
Upon completing these steps, you will have successfully created a new tool chain with the desired configurations. The tool is now visible in your list, complete with its type, description, inputs, chain elements, and access settings. You can now manage and utilize this tool within your projects.